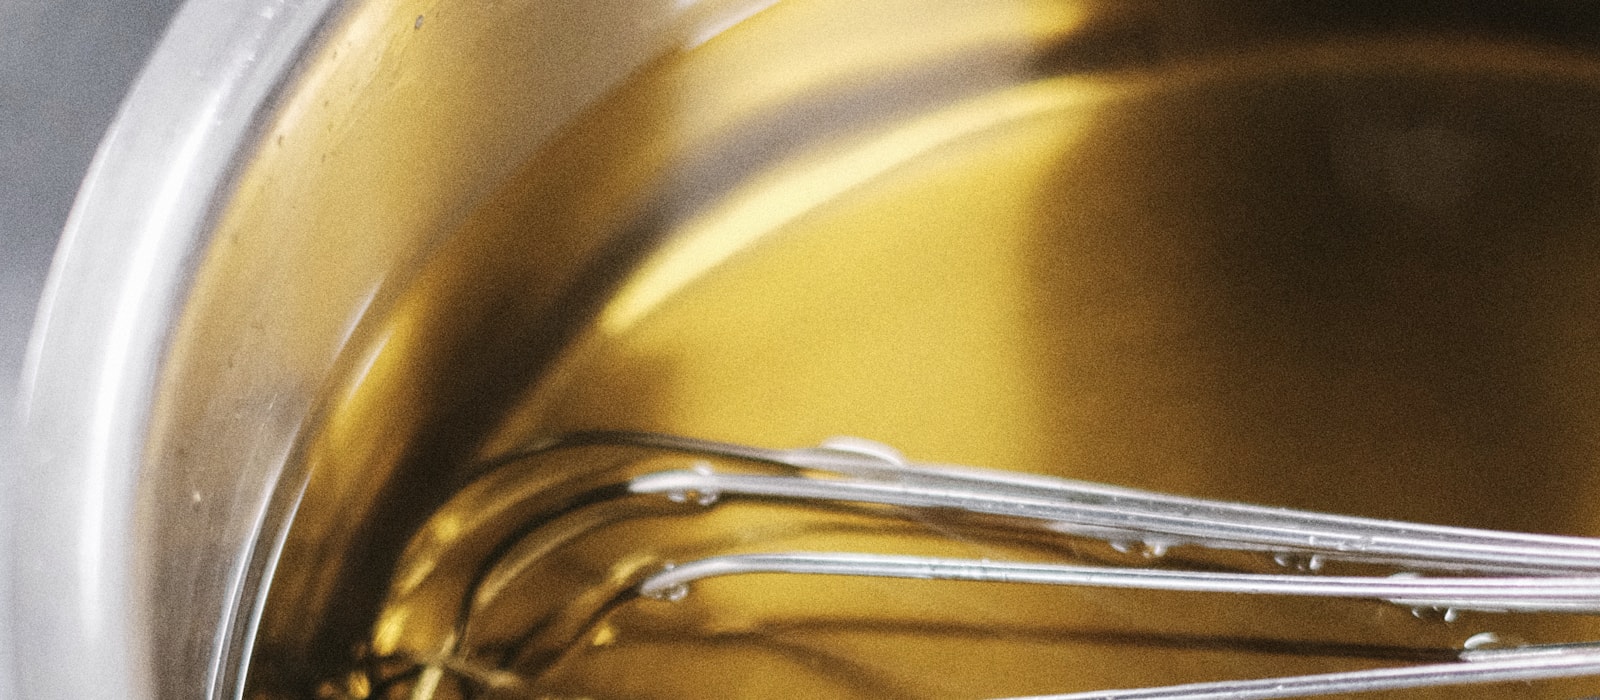
Photo by Maksim Krutalevich on Unsplash
How to Make Cannabutter
Technique-focused instructions for making cannabutter at home: what it is, what you need, and the three steps that determine how strong it turns out.
What is cannabutter?
Cannabutter is simply butter that has been infused with cannabis. Because THC and other cannabinoids are fat-soluble — meaning they bind to fat rather than water — butter is one of the most effective vehicles for carrying them into food. The resulting product looks, behaves, and tastes like regular butter and can be swapped into almost any baked good or cooked dish.
What home cooks sometimes underestimate is how much technique governs the final potency. Two batches made with the same flower at the same quantity can turn out noticeably different in strength if one used a proper decarboxylation step and the other did not, or if one was infused at too high a temperature and cooked off active compounds along the way. Getting the process right is more important than using premium ingredients.
The process breaks into three stages: decarboxylation, infusion, and straining. Each one builds on the previous, and a shortcut at any stage costs you potency.
What you need
The equipment list is short. You need an oven (or a dedicated decarboxylator), a baking sheet and foil for the decarb step, a heavy-bottomed saucepan or slow cooker for the infusion, cheesecloth or a fine mesh straining bag, a heat-safe bowl or storage jar, and a kitchen thermometer if you are working on the stovetop.
On the ingredient side: unsalted butter (salted works but gives you less control over final flavour), and your cannabis flower. A common starting ratio for a first batch is 7–10 grams of flower per 225 g (one cup, or two sticks) of butter. You can adjust this up or down once you know how that ratio affects you personally.
A Herb grinder helps here more than you might expect. Grinding your flower to a medium-coarse texture — not powder-fine — increases surface area, which improves how thoroughly the fat makes contact with the plant material during infusion. Powder-fine grinds make the final butter harder to strain cleanly and can make the finished product taste more vegetal.
Step 1: Decarboxylate the flower
Raw cannabis flower contains THCA, a non-psychoactive acid form of THC. Heat drives off a carboxyl group and converts THCA into the active THC that produces an effect. This conversion step — called decarboxylation, or just “decarb” — must happen before your flower goes into the butter. Skipping it means most of the available THC stays locked in its inactive acid form.
For a home oven decarb, spread your ground flower in a single even layer on a baking sheet lined with aluminium foil. Fold the foil over to form a loose packet — this traps the terpenes that would otherwise evaporate into your kitchen. Set your oven to around 115–120°C (240–250°F) and bake for approximately 40–50 minutes. The flower should look slightly toasted and dry when done, with a warm, nutty smell.
Oven temperatures vary, which is the main reason results can be inconsistent. A dedicated Decarboxylator runs at a precise, programmed temperature for a defined time, which removes the variability and tends to produce a more complete and repeatable conversion. If you make cannabutter regularly, it is one of the more impactful upgrades you can make.
After decarbing, let the flower cool before moving to infusion. You can decarb in advance and store the flower in an airtight container for a day or two before infusing — this lets you split the process across two kitchen sessions if that is more convenient.
Step 2: Simmer and infuse
Combine your decarbed flower and butter in a heavy saucepan along with a small amount of water — roughly 250 ml (one cup) per 225 g of butter. Adding water during the infusion helps moderate the temperature and prevent the butter from scorching. It separates out later so it does not end up in your final product.
Low and slow is the rule. Keep the mixture on your lowest heat setting, targeting a temperature of around 70–85°C (160–185°F). You want a very gentle simmer — barely a bubble. Too much heat degrades the cannabinoids you just carefully activated in the decarb step and can ruin the flavour of the butter as well.
Infuse for 2–4 hours, stirring occasionally. Longer is not always better — most of the cannabinoid transfer happens in the first couple of hours, and an extended simmer at too-high a temperature just wastes energy and risks degradation. A slow cooker set to “low” is a reliable hands-off alternative; many cooks prefer it because the temperature is easier to maintain passively over a longer window.
Once you are happy with your infusion time, pull the pan off the heat and let it cool for 10–15 minutes before straining. Pouring boiling liquid through cheesecloth is awkward and slightly risky; a short cool-down makes the whole step easier.
Before you strain, it is a good time to estimate how potent your batch is. The Canabee dosage calculator lets you enter your flower weight, THC percentage, and estimated efficiencies to see an approximate milligrams-per-tablespoon figure for the finished butter.
Step 3: Strain and store
Line a fine mesh strainer or colander with two layers of cheesecloth and set it over a heat-safe bowl or measuring jug. Pour the infused butter and water mixture through slowly, letting the liquid drain through under gravity. The plant material stays behind in the cloth.
Here is a tip that makes a real difference: do not squeeze the cloth. It is tempting to wring out every last drop, but pressing hard on the spent plant matter pushes through fine particles, chlorophyll, and bitter plant compounds that muddy the taste of your butter. The cannabinoids you want have already passed through with the fat — let the cloth drain fully on its own and then discard the plant material.
Transfer the strained liquid into a storage container and refrigerate. Over several hours, the butter will solidify on top and any remaining water will settle below as a dark liquid layer. Once solid, you can lift the butter off, discard the water, and pat the bottom of the butter disk dry with a paper towel.
Label your cannabutter clearly with the date, the flower strain and percentage if you know it, and the estimated dose per tablespoon. Store it in the refrigerator for two to three weeks, or in the freezer for up to six months, at its best within the first three. Keeping it well-sealed prevents it from picking up refrigerator odours.
Safety reminders
Always start with a small amount of any new batch — even if you know the recipe well, potency can vary between batches. Wait at least two hours before deciding to take more. Store cannabutter completely separately from regular butter (or in clearly marked packaging) to prevent accidental consumption. This information is educational and not medical advice; laws around cannabis vary by region, so ensure you are acting within your local regulations.
Recipes that use this
Original recipes that apply this guide.
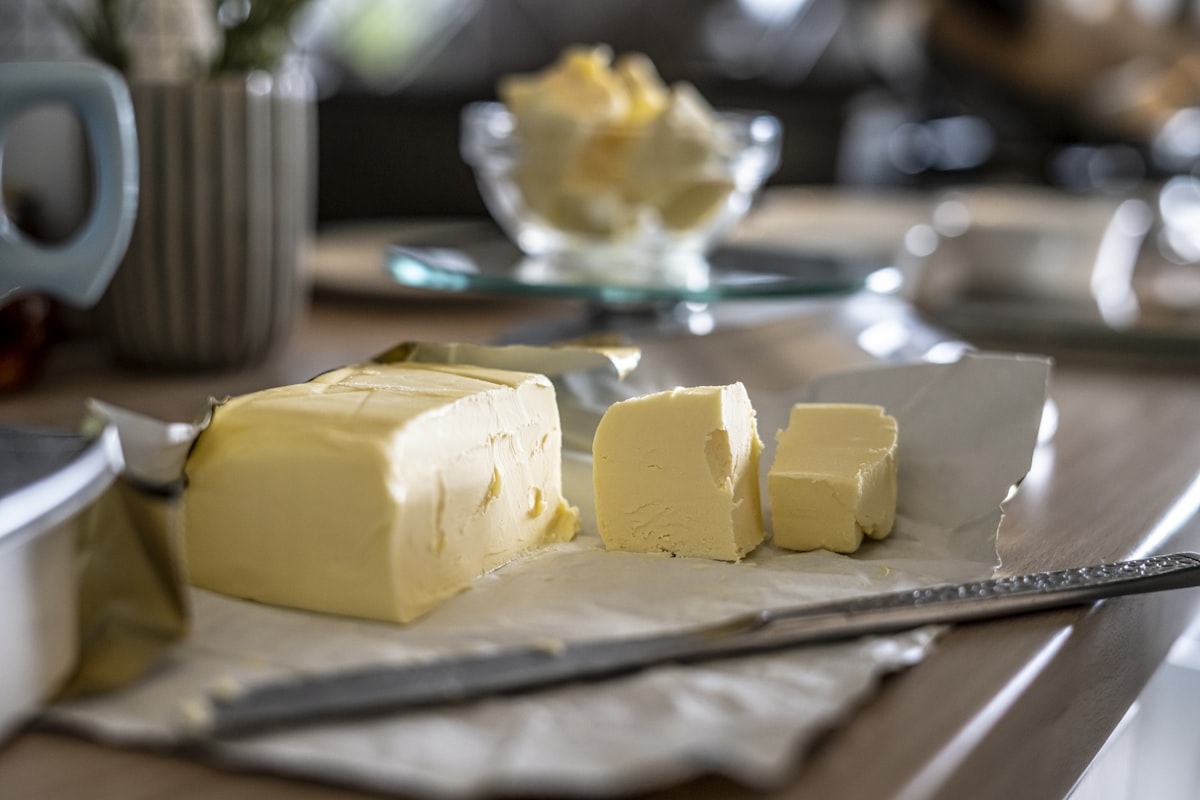
Classic Cannabutter
The foundational infused fat behind almost every edible. Smooth, golden, and easy to dose once you know its strength.
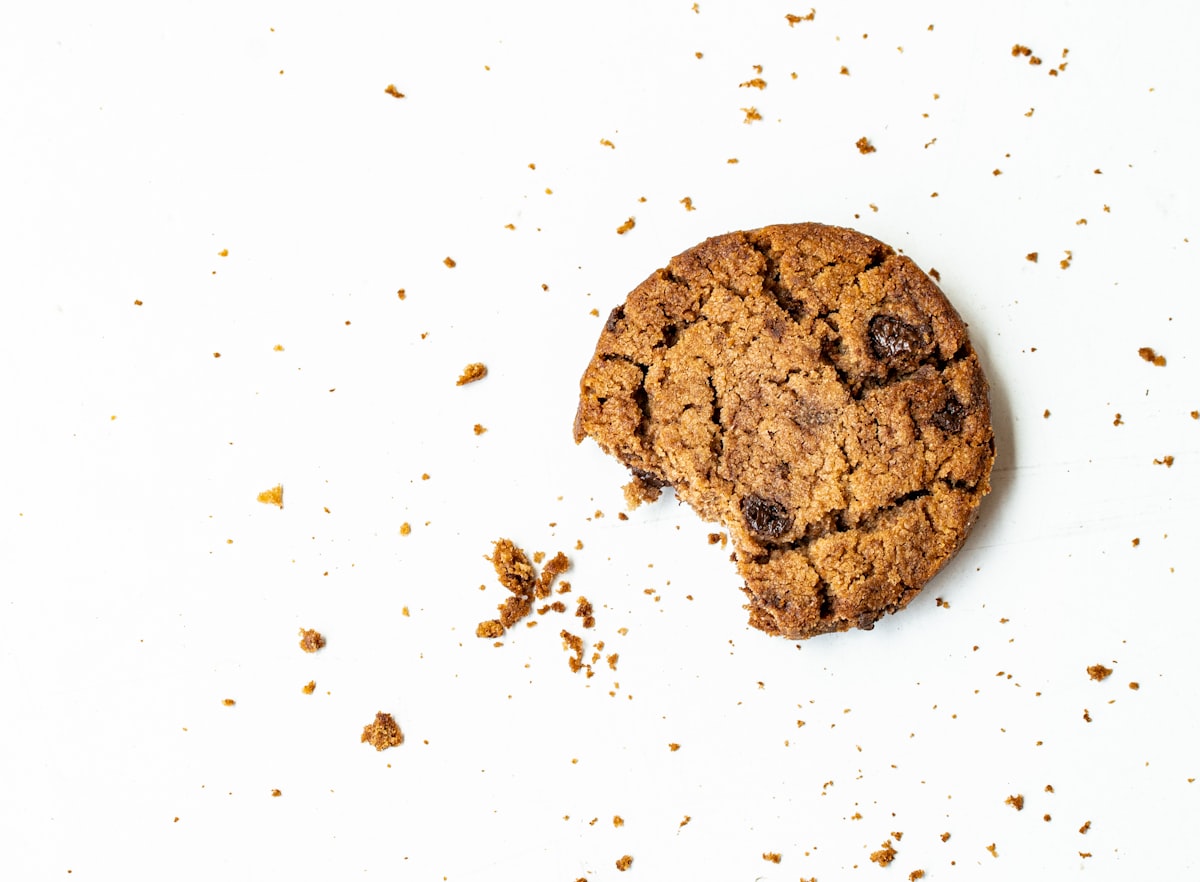
Infused Chocolate Chip Cookies
Chewy in the middle, crisp at the edge, and portioned for steady dosing one cookie at a time.
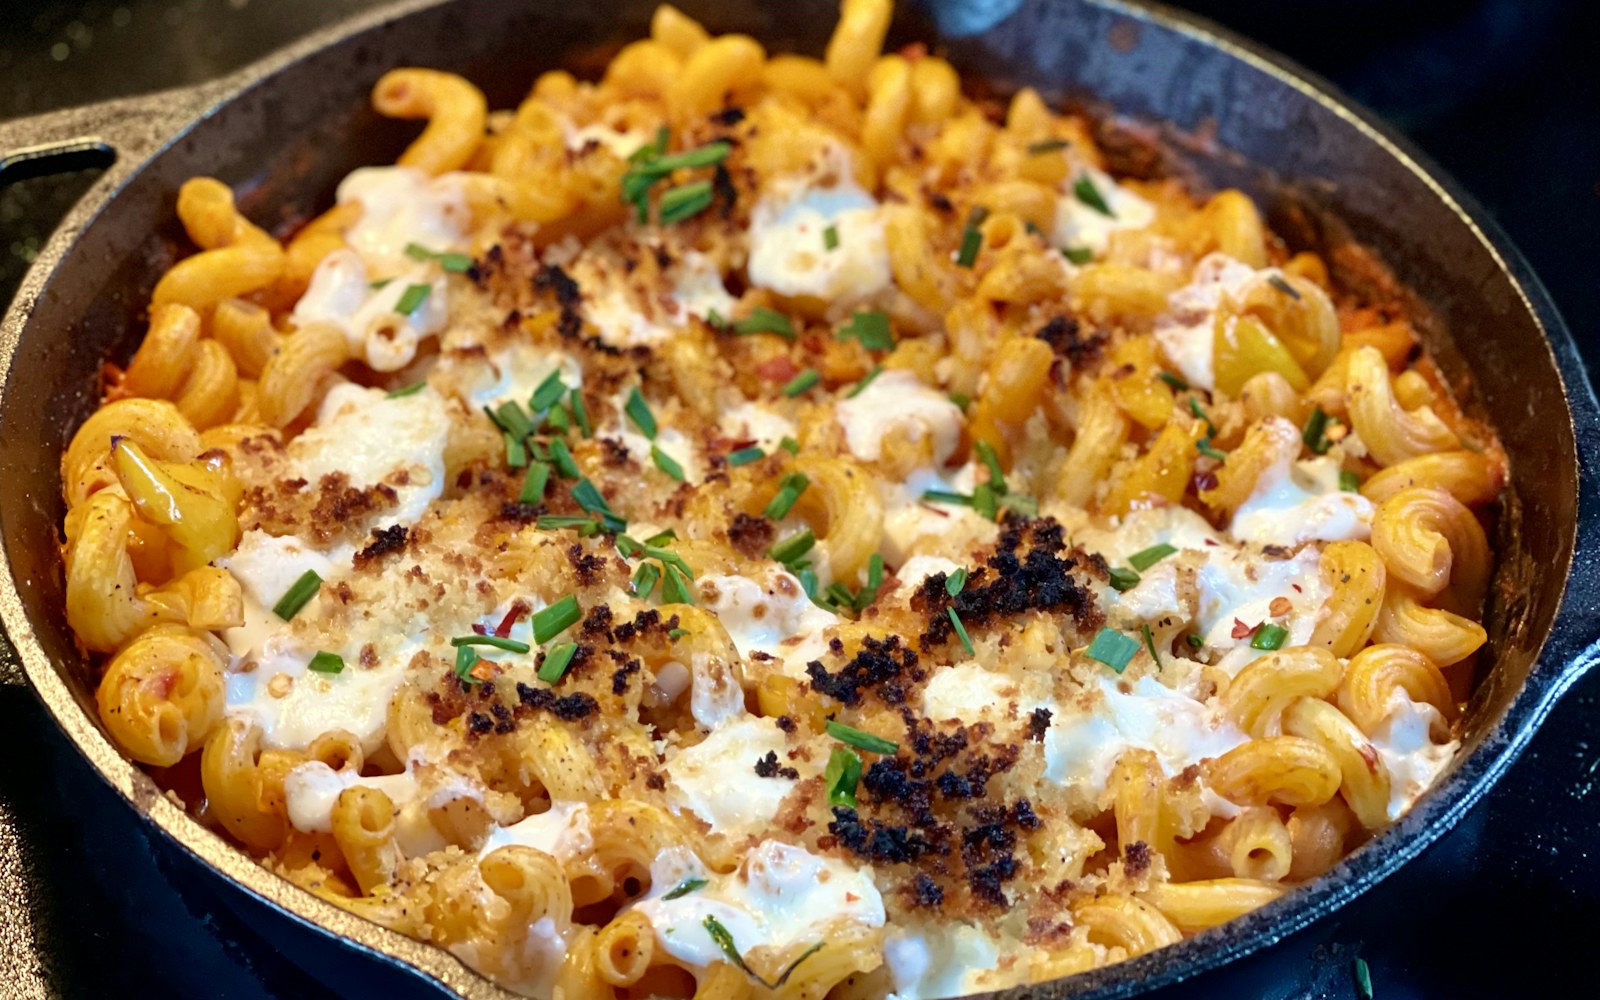
One-Pot Infused Mac & Cheese
Stovetop mac and cheese where the cannabutter goes in off the heat, so the dose survives and every bowl is stirred to the same strength.
Read next
Scale your cannabutter recipe and track potency in the app
Use Canabee to resize your batch, log estimated potency per tablespoon, and follow step-by-step Cook Mode timers so nothing gets burned or forgotten. Free to start.